

ACHIEVE TOP GRADES
IN KS3 AND GCSE
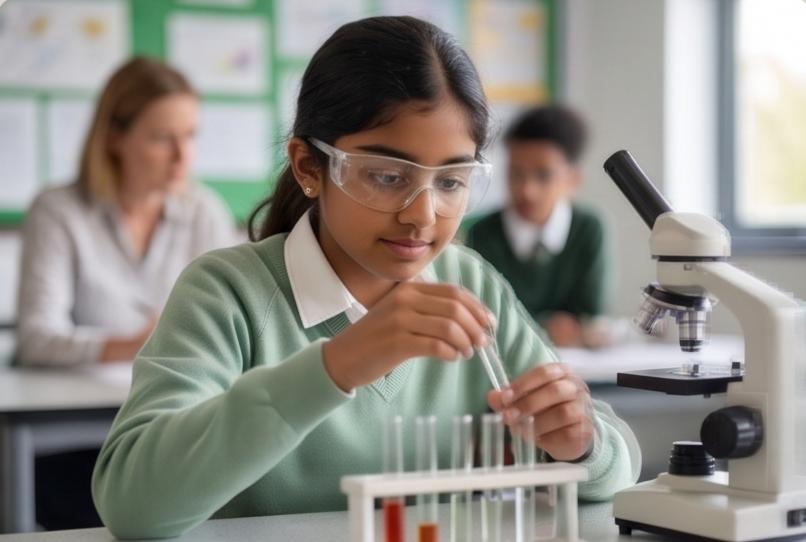
SCIENCE
Secure a top-tier Science grade with the GOLD STANDARD of online tuition. Led by a MASTER OF EDUCATION and LEAD PRACTITIONER with 15+ years of proven results.
WHAT TO EXPECT FROM SINGHSCIENCE?
Joining SinghScience means stepping out of the crowded classroom and into a focused, high-performance learning environment.
We provide specialised online tuition designed to bridge the gaps left by the school system and accelerate academic progress. We work across all the major exam boards (AQA, OCR, EDEXCEL and IGCSE). The yearly calendar is specifically designed by Randeep to suit all major specifications.
Small Group Synergy
By limiting our class sizes, I ensure every student is seen, heard, and challenged. This isn’t a passive webinar — it’s an interactive, teacher-led session where your child’s specific questions are answered in real time.
Lead Practitioner Standards
Every lesson is designed and delivered by me. You are not getting a university student or a part-time tutor; you are getting 15 years of senior leadership experience and proven academic results.
ABOUT OUR FOUNDER
With a degree in Science, a PGCE, and a Master’s in Education, our founder spent 15 years building a proven track record of top-tier exam results.
As a former Lead Practitioner, they stepped away from the restrictions of the modern school system to found SinghScience. The mission? To bypass overcrowded classrooms and provide students with elite, research-driven science tuition that guarantees progress.
Inside a Live Session
See firsthand how our ground-up detailed instruction cuts through abstract scientific concepts. This short clip demonstrates exactly how we build deep conceptual understanding with our students every week.
- Interactive crystal-clear digital whiteboard annotation
- Real-world analogies that make complex math stick
- Engaging, high-energy environment built for retention

WHY CHOOSE SINGHSCIENCE ONLINE COURSES?
RECEIVE EXPERT TUITION
Elite educators, proven results, fully Qualified: Taught strictly by current or former secondary science teachers.
SCIENCE-BASED INSTRUCTION
Lessons designed for the modern learner. Built on the latest cognitive and educational research, our interactive curriculum keeps students engaged, motivated, and moving forward.
REGULAR ASSESSMENTS
No guesswork, just visible progress. Students are regularly assessed using targeted quizzes and exam-style questions
CONSISTENT FEEDBACK
Students receive instant, constructive feedback during live lessons to fix mistakes on the spot, while parents receive regular progress updates so you always know exactly how your child is performing.
WHO ARE THE IDEAL CANDIDATES FOR SINGHSCIENCE COURSES?

GCSE Students in Years 9–11
Designed for motivated, aspirational students who want to secure top-tier grades and build an elite academic foundation.
Whether starting early in Year 9 to master core science concepts, or in Year 11 for intensive exam practice, this pathway transforms potential into exceptional results.

International Students (iGCSE)
Tailored specifically for ambitious international students studying the rigorous iGCSE framework who want to excel in British curriculum exams.
This pathway bridges the gap for global students learning from different time zones, providing the elite tools needed to compete for top marks on the global stage.
Year 7–8 Early GCSE Preparation
Designed for younger, passionate science students who want to go beyond the standard school curriculum and build a powerful foundation early.
Instead of general Key Stage 3 lessons, students engage with a custom-tailored framework specifically engineered to seamlessly bridge the gap to higher level GCSE demands.
FREQUENTLY ASKED QUESTIONS
We cover all major UK and international exam boards, including AQA, Edexcel, OCR, and Cambridge iGCSE. Our custom curriculum is tailored specifically to the exact mark schemes and command words of your child's specific board.
Lessons are conducted via a secure, high-definition interactive classroom. We use digital whiteboards, live annotation tools, and shared past-paper banks to ensure online learning feels even more engaging and collaborative than traditional in-person tutoring.
Absolutely not. The free consultation and trial lesson are completely risk-free. It’s an opportunity for us to assess your child's current science level and ensure our teaching style is the perfect fit for their academic goals.